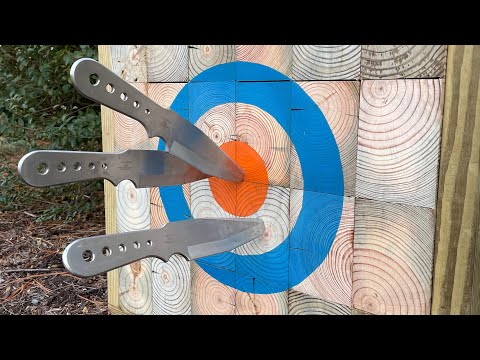
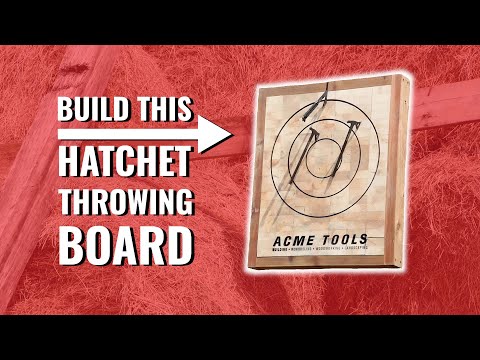
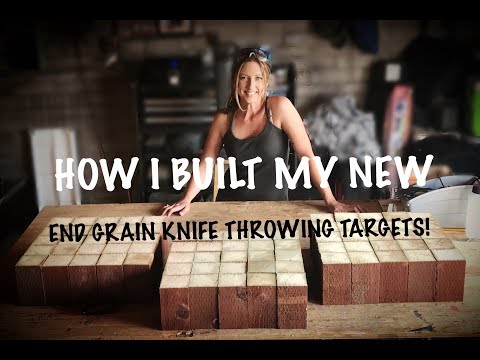
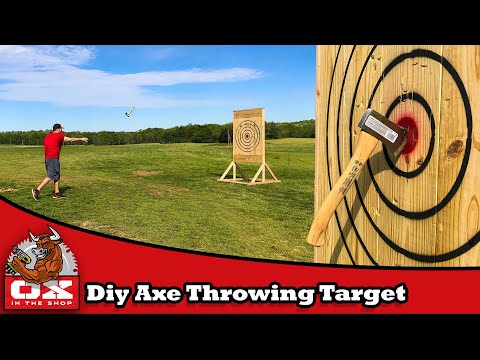
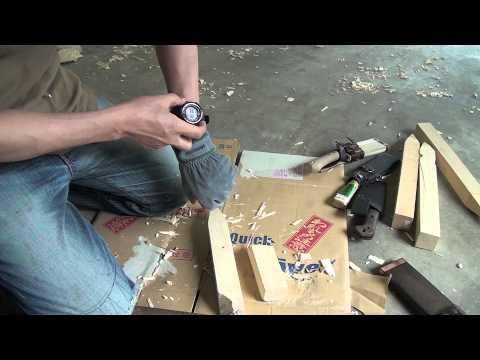
Please hit LIKE and Leave a Comment if this helped! It really helps my channel out. I recently went to an ax throwing joint in Portland, Oregon, @celticaxe (in the @HUBVideo1 location), and enjoyed it so much that I decided to figure out how to build an axe, hatchet, and knife throwing wood target lane at home so my family and I could throw hatchets, knives, and shovels (Russian Spetsnaz style). I liked the targets I saw at Celtic--they were made using 4x4 end grain in a checkerboard butcherblock style, so I figured why not do that at home? It was fairly easy and I kept the price down to about $130 for supplies. I bought lumber at the big box store, and set out making the wood target. I designed it to be a tripod standing approximately 7 feet tall with a 5' bullseye. Here is the gear I use at home: -Pre-built Axe or Knife Throwing Target: (if you don't want to build it yourself) -Cold Steel Throwing Ax/Hatchet: -Cold Steel Spetsnaz Shovel: -Gil Hibben Throwing Knives (Set of 3): (These affiliate links will take you to products that, if you purchase them, they will send me a VERY SMALL commission which helps me make more videos. Thanks!) Business Inquiries Email: mountainvids@ (subject: Inquiry from Youtube) BTW, I've gained a lot of throwing knowledge from some youtubers, including @AdamCeladin and @ItsWhateverKnifeandGun for no spin knife throwing, and @soulthrower for axe throwing. They're all aces! Transcript: Oh, hi. Let's show you how to make a throwing axe and throwing shovel target. What makes these targets really great is they're made with end grain. So, if you have a couple that's split out, you can always replace part of it without having to replace the entire target. What we're going to do is we're going to cut these up into 3 and 1/2 long pieces. So, I'm going to cut the first one at three and 1/2, mark it here, and cut it with a chop saw. You can use other saws, but I want to get this done sometime in my lifetime. So, cut this like this. And the hatchet or knives are going to go into the end grain here. So, I want it 3 and 1/2 in long. I'm going to be putting a stop in Okay. And then I'm going to put this one in here. Use a clamp here. Put it on the end here so doesn't get hung up on the blade. Next thing I'm need to do is I'm going to have to take all of these 4x4 pieces that I've cut and I'm going to lay them out on this half inch backer board so I can get an idea of the size and scope of this target. That target backer board is going to have a screw through each individual 4x4. If I need to replace them individually, I can just take that screw out and pop out the 4x4. I have a 2x4 frame around these. So, I'm going to offset this on the backer board by about 1 and 1/2 in on all sides. That's about the size I'm going to go for at the moment. So, the next thing I need to do is I need to cut out 2x4 framing is I'm going to cut these so we can frame it up. I'm making these out of pressure treated cuz it's going to the outside and I want the frame at least to hold it all together. So, along that line, I have a general idea of this design in my head, but as you can see, I'm kind of just making it up right now. So, we're going to make that frame. I'm going to cut these on the on the chopsaw. This these ones are going to be whatever the length of that is. And then these are going to cap this and underneath there cap that on the bottom. I cut this first piece to 36 in as three, four on both ends. Before I do that, I'm going to pre-drill. It's a good idea. So, I have this clamped, just a Harbor Freight cheapo CL clamp, and I'm going to I'm going to, pre-drill this with this drill bit. And then these are just timber kind of ledger screws, but you can use other just regular wood deck screws, too. I just want super heavy duty. Okay, so you're going to go pre-drill these. Then screw these in. And then one down there, one one two there, and then two on either end of those. Once you get the frame cut and everything screwed up, then you're going to take your backer board and you're going to mark it where Make sure you're not cutting through your your saw horses. I made kind of a grid by going okay halfway down these and then halfway down here, halfway down here will give me the the center of all these. So, that's 90 of these. So that should give me 90 centers for all these, right? Okay, so that that's 90 centers. I'm just going to screw in wherever these are. That's where I screw it into. And I use that to help me. And a pencil. All right. That's the last one. Through the power of editing. You didn't have to watch all that, but I had to do it. Center for this is going to be 5 ft from the floor to the center.
- 831Просмотров
- 3 месяца назадОпубликованоJason Sipe
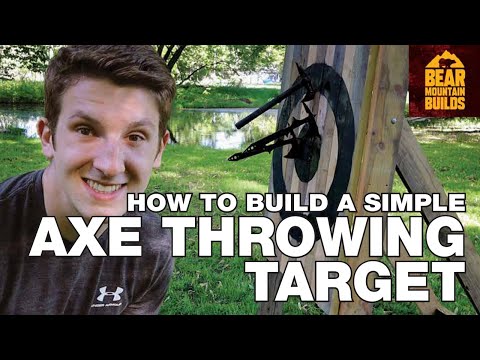
Build an Axe Throwing Target with End Grain Wood DIY [Great for Shovels & Knives]
Похожее видео


Популярное
Новини